

Autumn brings a beautiful but sometimes overwhelming shower of fallen leaves. Instead of bagging or burning them, you can recycle all those nutrients and turn your leaves into leaf mold — a natural, nutrient-rich soil amendment that improves structure, water retention, and fertility.
How Does It Happen?
Leaf mold is different from compost in that it primarily utilizes fungal decomposition instead of bacteria. Fungi and actinomycetes (filamentous microbes) spread their hyphae and secrete enzymes to break down cellulose and lignin, the toughest compounds in leaves. Leaf mold is easy to make, eco-friendly, and perfect for your pollinator and vegetable gardens. Here is how to make leaf mold in 5 simple steps:

Fungal mycelium, the key organism that makes leaf mold possible.
1. Collect the Right Leaves
• Most deciduous leaves will make a great leaf mold given a little time, including maple, oak, ash, poplar, elm, birch, beech and many more. Just avoid black walnut or eucalyptus if you plan to use it in your garden, these leaves can inhibit plant growth.
• Gather leaves from lawns, flower beds, your driveway— virtually anywhere they collect as long as they are free from contaminants.
• Shred them if possible because smaller pieces will take less time to decompose, but it is not absolutely necessary.
2. Choose a Storage Method
• A simple pile will work: stack leaves in a corner of the yard, preferably on soil rather than an impermeable surface like concrete. This will allow microbes in from the soil.
• Contained pile: a simple one can be built using wire fencing and stakes for structure. It can be covered with breathable material to speed up the process but keep in mind good aeration is also needed for the microbes to function.
• Bags: alternatively, you can pack leaves into breathable garden bags with holes punched for airflow or purchase compostable bags.

Leaf pile contained within a square structure made with boards and fencing.
3. Keep Leaves Moist
• A consistently damp environment is needed by the fungi to break down leaves
• Water lightly if the pile is dry; leaves should be damp like a wrung-out sponge but not sopping wet.
• Too wet can cause a moldy smell, too dry slows the decomposition process.
4. Wait and Turn Occasionally
• Leaf mold takes 6–12 months to fully form depending on factors such as temperature, moisture, and aeration.
• Thicker waxier leaves such as oak and magnolia may naturally take longer, while thinner ones may be speedier to degrade.
• Turning or fluffing the pile every few weeks helps air circulation and speeds decomposition.
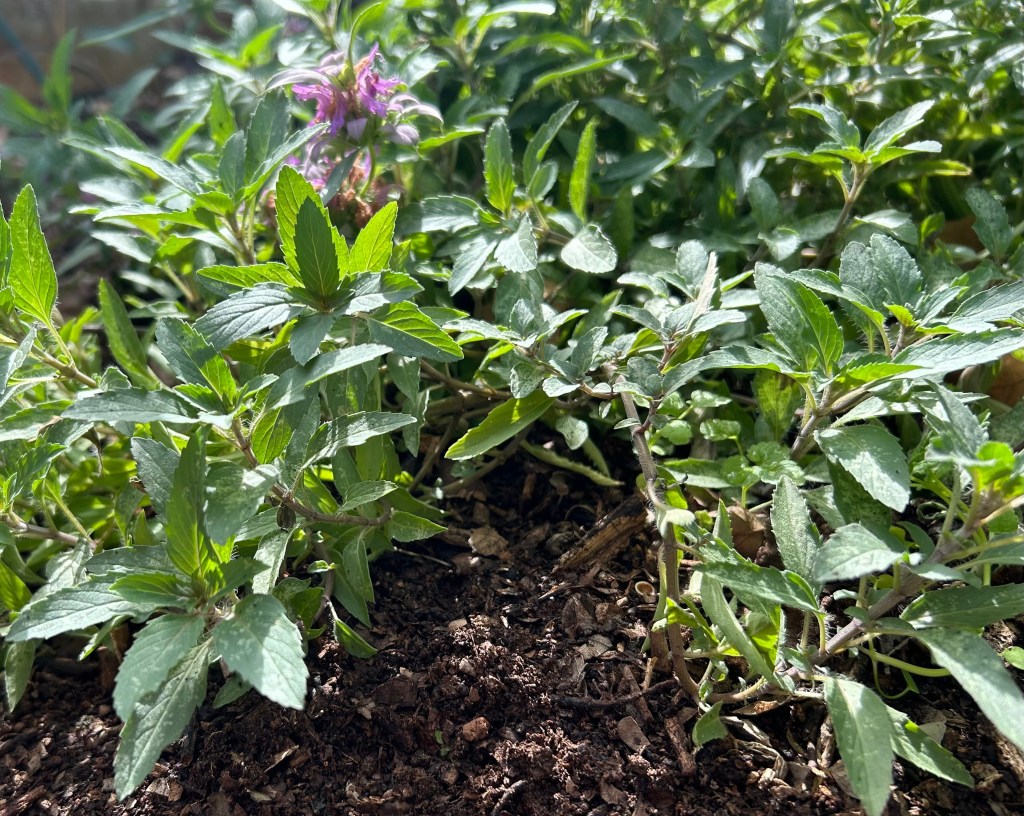
Lemon mint (Monarda citriodora) growing in soil made from leaves and twigs from the yard into leaf mold.
5. Use Leaf Mold in Your Garden
• Once dark, crumbly, and earthy-smelling, leaf mold is ready.
• Mix into soil as a growing medium for seedlings, perennials, and pollinator plants.
• Mulch around plants to retain moisture and improve soil structure.
Tip: Leaves do not even need to be finished to still make a great mulch for protecting plants in winter or suppressing weeds if that is your goal.
Final Thoughts
What seems like a huge mess in autumn can become black gold for your soil with the right management. Leaf mold is one of the simplest, most sustainable ways to improve garden health, support pollinator plants, and reduce waste. Start this fall, and by next season, your garden will reap the benefits of richer, more resilient soil.
If you are planning or planting this season, the Butterfly Garden Cheat Sheet can help you check that the basic habitat pieces are in place.
Related Guides:
The Complete Guide to Butterfly Gardening: How to Attract, Feed, and Protect Butterflies All Year
The Ultimate Texas Zone 8 Garden Guide: What to Plant and When

Leave a comment