

Rock gardens are a beautiful way to add texture, color, and low-maintenance interest to your yard. They are also perfect for hot, dry climates, pollinator-friendly planting, and showcasing small perennials or succulents. With some planning and a few materials, you can transform a corner of your garden into a stunning rock oasis. I also included some tips to creating it on a budget! Here you will find a complete step-by-step guide to building your own rock garden:
Step 1: Choose the Right Location
• Pick a sunny spot with good drainage — most rock garden plants prefer plenty of sun and dry, fast-draining soil.
• Avoid areas that collect standing water, which can rot plant roots or shift rocks.
• To create the best possible environment, I would recommend making a raised bed style garden or planting on a slope to ensure the area drains quickly vs. in-ground planting.
Tip: For my rock garden, I chose an east facing slope with little topsoil. This allowed me to build a raised area with stone and add my own soil, tailored to the needs of the rock garden plants.
• Then consider visibility: place it where you can enjoy the view.
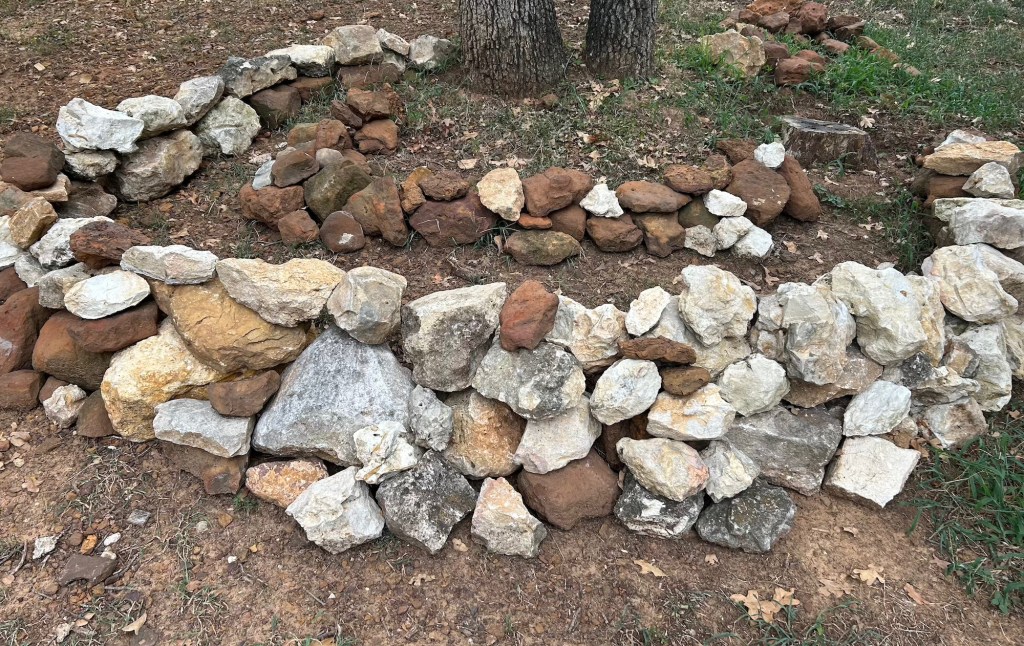
Round rock garden with two rings for filling and planting
Step 2: Gather Materials
• Rocks: Mix sizes for natural appeal — large boulders for structure, medium rocks for layering, small gravel for paths or filler. Decorative pebbles can be added last on top of it all.
• Soil: Well-draining soil is key. Mix sand or grit into existing soil if necessary.
For my rock garden in Texas, I used 50% small stones and grit, 30% native soil from my property (mostly clay) and 20% organic material (decomposed leaves). Using materials available in my yard saved me from having to buy extra soil.
• Plants: Choose drought-tolerant species like sedums, agaves, succulents, and native perennials that love rocky soil.
• Tools: Shovel, rake, gloves, wheelbarrow.
Examples of plants I used: sedum autumn joy, blue fescue grass, native rock penstemon, native rock rose, and sedum blue spruce.
Step 3: Plan Your Layout
• Start by arranging the largest rocks first. They can be placed on the bottom layer as a foundation with the smaller rocks on top.
Tip: Make an outline first with a few big rocks to test where the garden will go and take measurements then fill it in after you are sure of your placement.
• Create layers or “levels” with medium rocks to add depth.
• Leave pockets of soil for planting.
• Consider plant heights — place taller plants near the back, shorter plants in front.
• Save deeper soil pockets for your plants with deeper roots.
My rock garden contained two tiers on a slope. The shallow rooted plants were placed in the top tier and the plants needing more depth were planted in the bottom where more soil was available them.
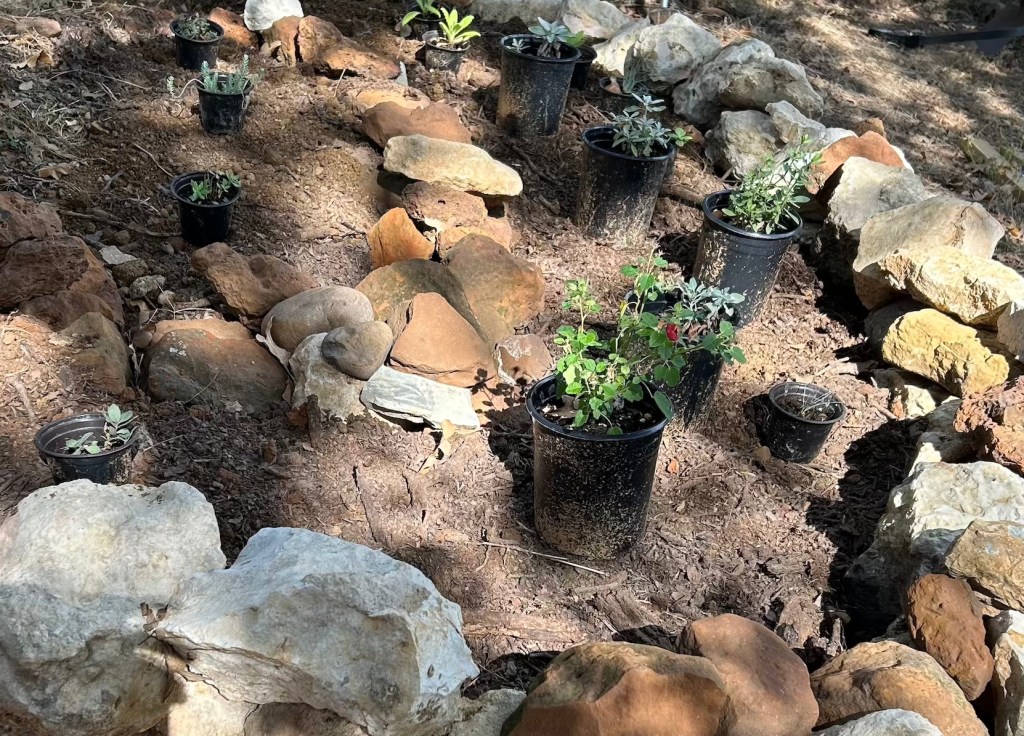
Soil added and experimenting with positions for plants and rocks before planting.
Step 4: Prepare the Soila
• Remove grass or weeds from the area.
• Amend soil with sand, grit, or compost as needed for drainage.
Tip: Mixing your soil together in a wheelbarrow is easier than doing it once it is already in the garden.
• Add large rocks before filling with soil. Smaller rocks can be nestled in afterwards.
Budget-friendly gardening – to save a little more on soil, I layered the bottom of my rock garden with extra rubble left in my yard from previous owners. Broken bricks and a few cement pieces provided the excellent drainage rock garden plants need and are hidden by the soil over top. Rock garden plants will not mind, they are accustomed to growing on rocky hillsides with little soil.
Step 5: Place Rocks and Plant
• Position rocks in a natural-looking pattern; avoid straight lines.
• Fill planting pockets with mixed soil.
• Plant drought-tolerant species in small clusters for visual impact and water them thoroughly at planting.
• Mulch lightly with gravel if desired or decorate with smooth pebbles, glass gems, or add your own creative touches.
Bonus Tip: Add small pockets of native milkweed or other pollinator-friendly plants to attract butterflies and bees — combining beauty with wildlife support!
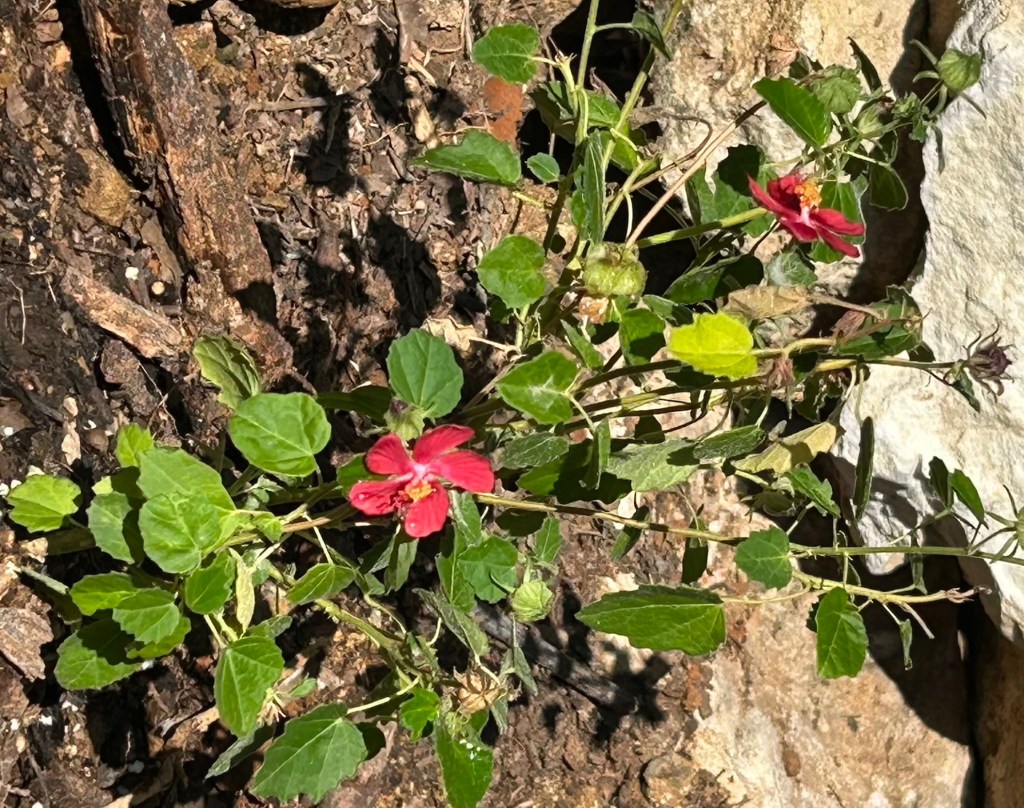
I cannot wait for this native Rock rose (Pavonia lasiopetala) to take off now that it is in its new spot!
Step 6: Water and Maintain
• Water new plants lightly for at least 2 weeks to establish roots.
• Once established, most rock garden plants are drought-tolerant and low-maintenance.
• Remove weeds and prune plants as needed.
Building a rock garden is both a creative and practical way to enhance your landscape. It provides texture, color, and year-round interest while being gentle on water use. By carefully selecting rocks, plants, and layout, your garden can become a stunning, pollinator-friendly focal point that thrives with minimal effort.
If you are planning or planting this season, the Butterfly Garden Cheat Sheet can help you check that the basic habitat pieces are in place.
Related Guides:
The Complete Guide to Butterfly Gardening: How to Attract, Feed, and Protect Butterflies All Year
The Ultimate Texas Zone 8 Garden Guide: What to Plant and When

Leave a comment